Thank you, Emily, (aka sister) for your awesome advice of how to sew this picture onto one layer of fabric! I chose the option of placing regular printer paper behind the fabric and sewing through both layers.

Next time I'd use a slightly smaller stitch length to make ripping the paper out easier and create less pull on the stitches.

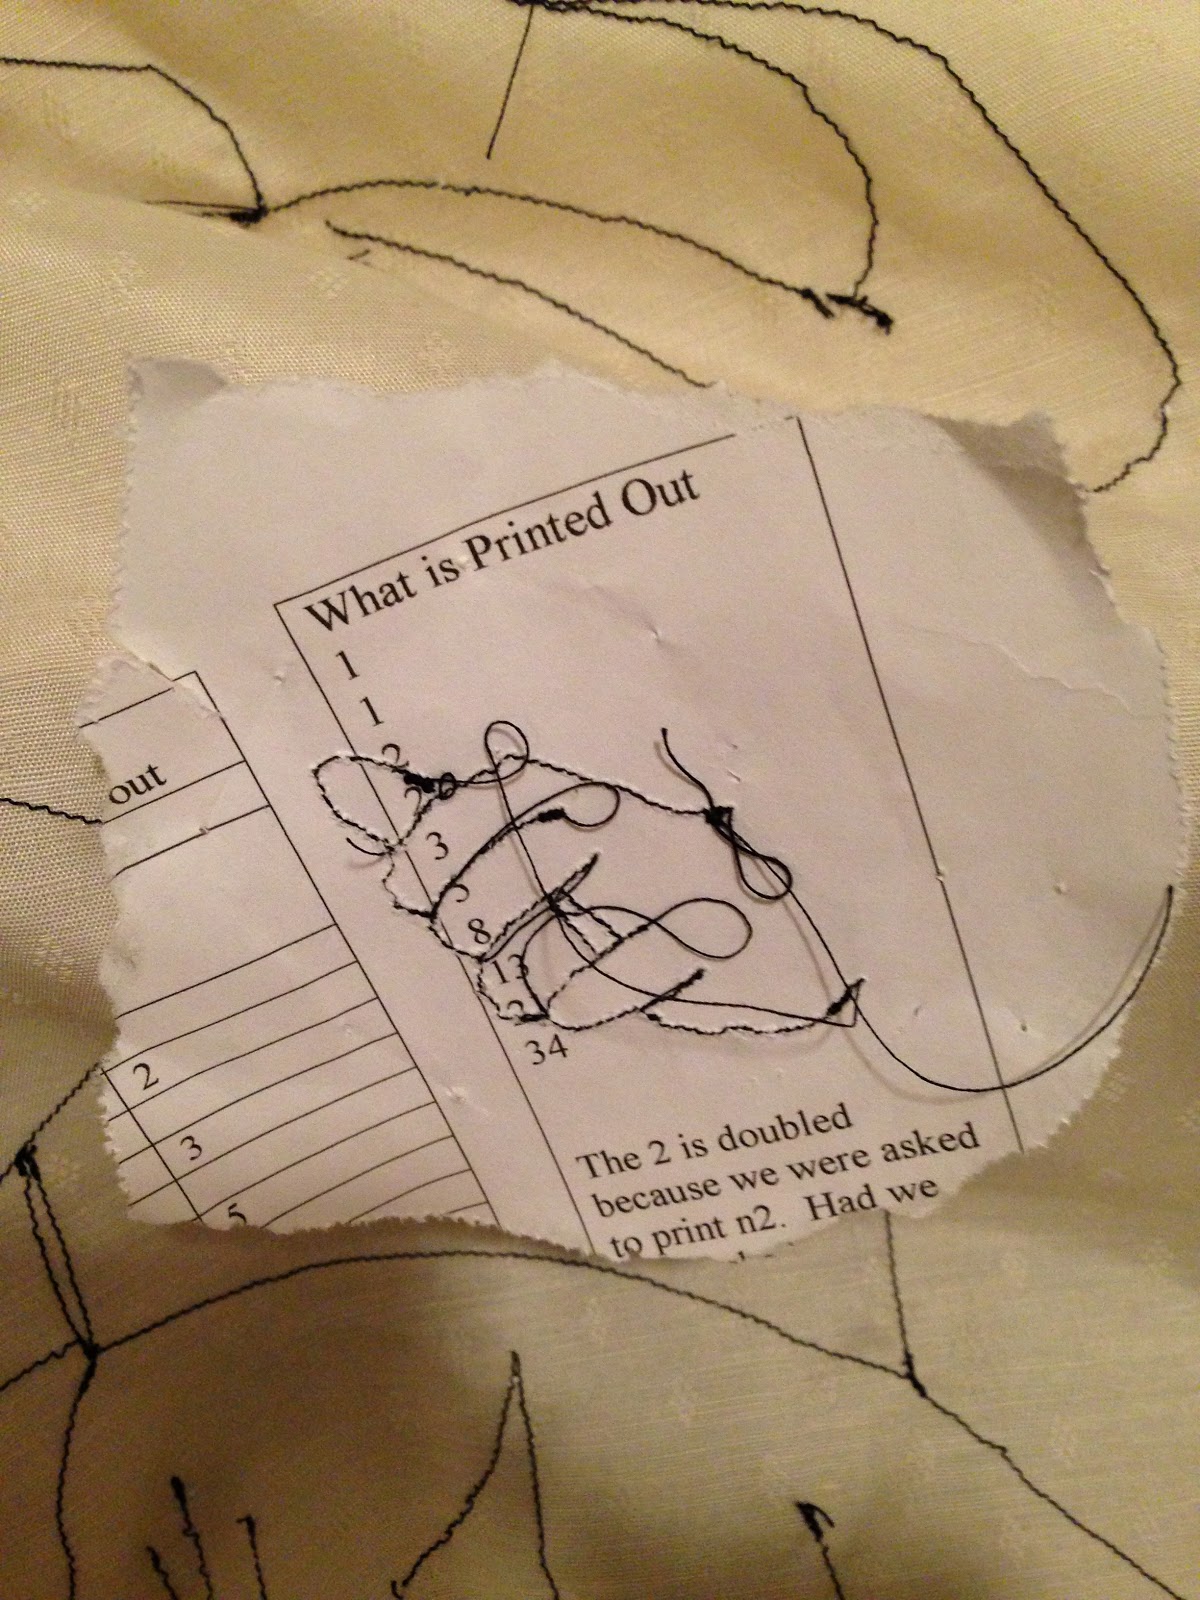
I used my Computer Programming notes. I didn't mind tearing those up. Mostly because I didn't need them. That class was so fun!
I did all the sewing on the machine with my regular, every day foot. It was a lot of stopping and starting, lots of lifting and lowering the foot.

Once it was done I had to decide what to do with it! I was planning on doing a border on it, but then realized it probably needed something to back it, since both the top and border fabrics were quite flimsy. Since I am working on my first quilt that will have a binding on it, I decided I'd make this into a mini quilt and get a little practice in.

I had some leftover batting from my second quilt (a baby quilt for my niece) and it was the perfect width. It was small enough to tape it to one cutting board, since my floors are mostly carpet. I chose a musical fabric for the background because it was black and white, I had the perfect amount for the backing (though it's sideways to make it fit) and it was fitting for a dancing picture.

I layered my backing, batting and top and pinned. I have a feeling my twin size quilt will take a little longer and a few more pins than this project!

I first sewed around the edge of the top. There was a little bit of puckering. Firstly, I don't have a walking foot, so the top dragged a bit. Secondly, considering the first issue, I probably should have sewn the same direction down both sides. Thirdly, I probably should have 'quilted' it first. But I didn't, and I'm ok with it. It's not quite as ripply in person as it looks on camera.

To quilt it, I just sewed with white thread all the way around the outline of the picture, usually about 1/8 inch away. But down at the bottom by the skirt, I cut a few corners due to the difficulty of making small, tight corner changes with a regular foot.

See, the puckering isn't quite as noticeable. I love the orange border. A little pop of color. I also got the chance to practice my binding skills on a smaller project. I need a little work on folding it over consistently, but that's why I practice!

I had a little scrap of musical fabric, just the perfect size to fit the 'quilt' except that it had to be placed sideways in order for it to cover. But that's ok. I thought music was appropriate and people won't be staring at the back when it's up against a wall, but I know it's there.
See you later!
(with an older project?)
You are amazing!!!
ReplyDeleteWhy thank you!! As are you!!
Delete