Tuesday, November 26, 2013

A Finished Picnic/Whirlygig Quilt!

It's done!!  The Whirlygig Quilt is done! (Except for a quick wash and dry.  That part's easy.)


I decided to keep going with the circular theme and do spirals starting at the center of each pinwheel.


I then filled in between the spirals, copying the curves and getting smaller until the space was filled.


At the edge I also mimicked the spiral to fill in the space, so it looks like little curved pyramids.


The giant center pinwheel.  It was a little tricky quilting this one, at one point I had about 3/4 of the quilt in the throat of my machine. (And I have a Bernina 1008 - not a big throat!)


The pinwheels:
Pink - I love these fabrics.  The watermelon seeds and the pink hexagons! 


Supposed to be yellow - didn't find any bright yellows I liked at the store (the binding was bought later) .  Love the darker pattern, though, circles that make diamonds.


Purple - Love the contrast with the hard lines of the darker purple and the organic lines/seeds of the lighter.


Orange - Again, very geometric lighter and more organic dark pattern


Green - love the light, the random almost scribbled cross hatch.


Red - probably my favorite fabric is the light red.  I don't know why, but red is the hardest color to shop for.  It took forever to find ones that I felt were really red (and not maroon or what not) and not just polka dot or gingham.  Why is it so hard?


But look how pretty the flowers are! I know it's mostly white.  But it's my favorite. 


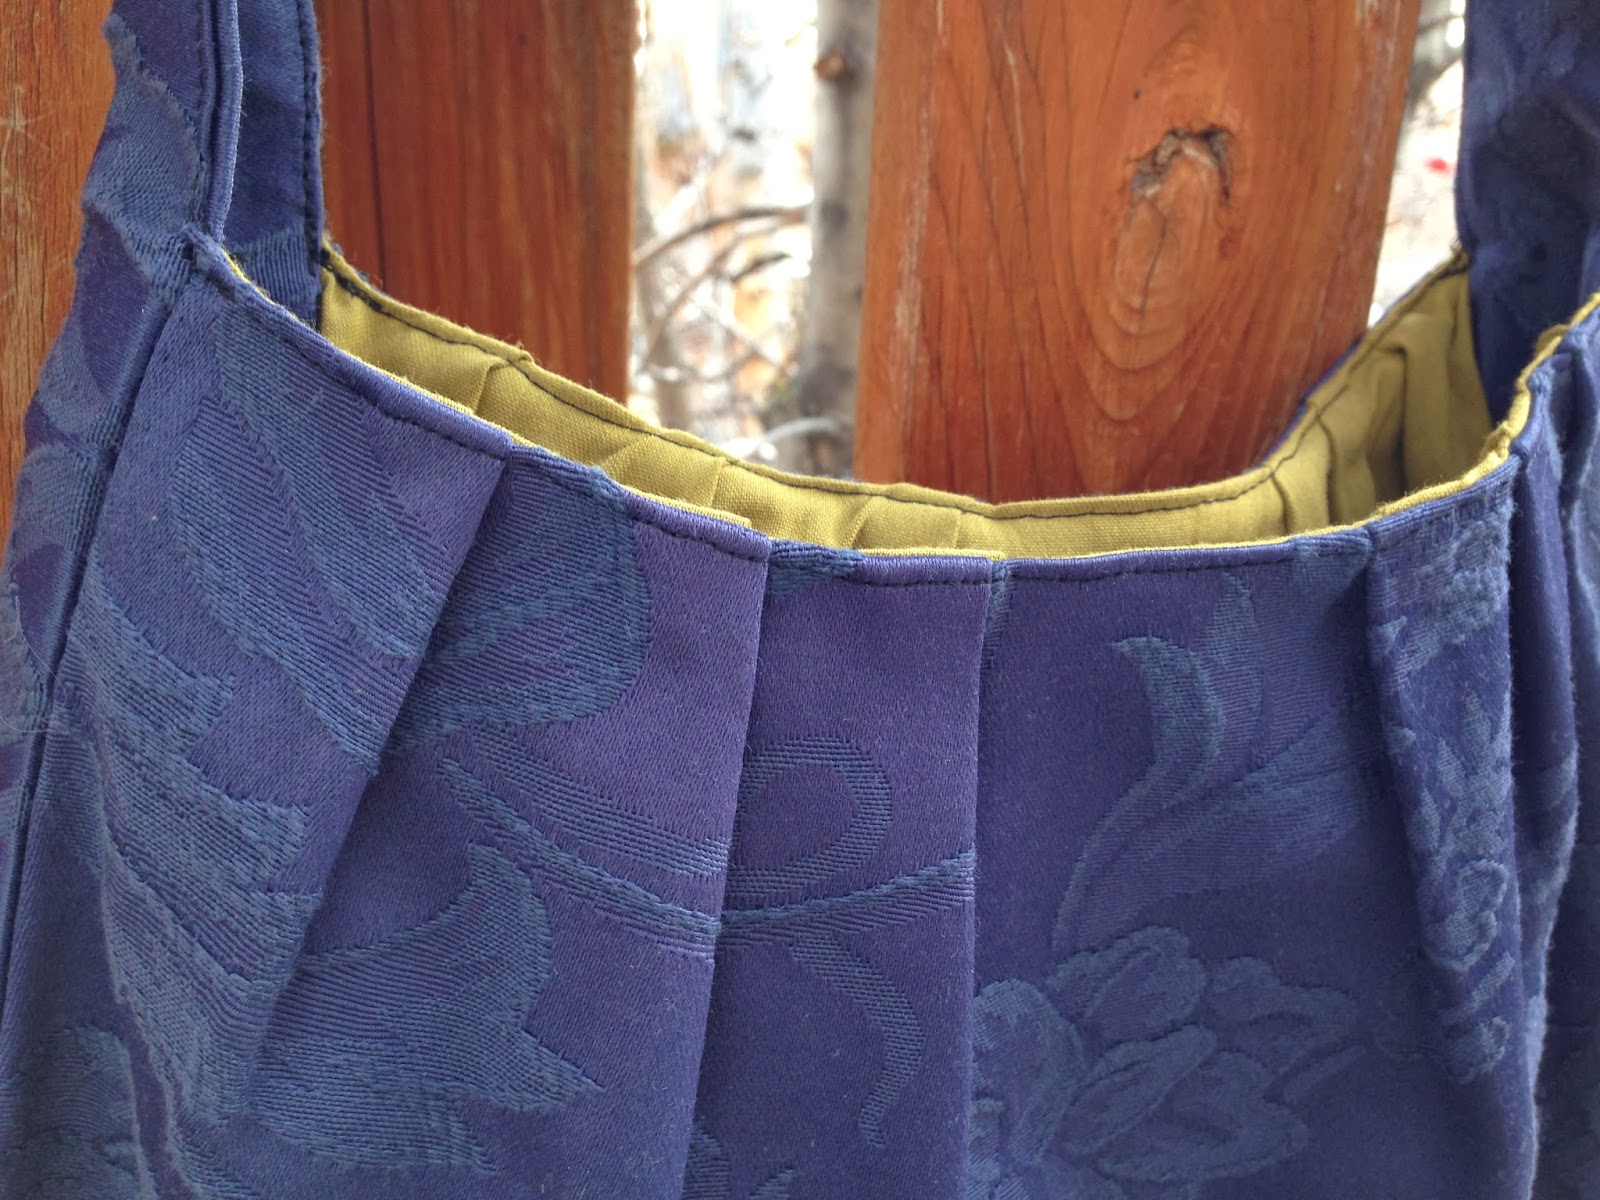
Blue - The darker pattern was probably a little too large for this, but it was the best color, so it worked out just fine!


This was supposed to be a slightly greener yellow - I love the lighter pattern.


Sneak peak at the back!


TA DAH! This pattern was so cool to me, and I didn't have a lot of green on the front and it's meant to be a picnic quilt, so it's good to be green - grass stains will be slightly less noticeable!  I just think the pattern's so cool.  From far away it looks more like flowers...


But closer in it looks more like interconnected rings.  So fun!  And yes, I took a picture of where my quilting was poorly done, because I'm ok with it!  It's the trouble with doing spirals.  This is where the two spirals met and so the fabric was being pulled in opposite directions.  Live and learn!


The spiral from the back.  I just used white quilting thread on the back. 


And then it was bound - I used the same fabric as the dark orange in the giant center pin, except I did it in bright yellow.  I thought in the sea of blue the quilt needed a hard, wide binding.  It's a double folded binding that I cut at 4", so the finished width is just a little under one inch.  And it's cut on the bias as well, so it could go around the curve.


I machine stitched the binding onto the front with the lovely walking foot my husband got me for my birthday.  And then my brain exploded and I decided I wanted to hand stitch the binding on the back.  It went quicker than I thought.  A few hours on Saturday afternoon/Sunday morning while my husband was out of town.  Not bad for approximately 18 feet of bias binding. 


This is also a gift, so the H is us, the B is the recipients, because we like them a lot!


I just love the circles/flowers!  And I love that I'm done!  I hope you love this quilt.  I do.


See you soon!
(...with another quilt project?)

Saturday, November 23, 2013

I've opened an Etsy Shop! Finally!

I'm pretty sure it was months ago that I said I was planning on opening a shop on Etsy.  Well, I finally did it.  Better late than never, yeah?  I'm so excited about it.  It's been open for all of 10 minutes and I'm stoked.  Go check it out!  Here are some glimpses of what I've listed so far.  I feel a little odd trying to advertise myself.  It's not really my style.  But having a shop doesn't do much if no one knows about it! Christmas is coming up and I think what I create would make great gifts.  So sneak a peak.


I've got clutches/cosmetic bags and some reversible pleated shoulder bags.  Love them all!


See you soon!
(...with a few finished projects!)

Friday, November 15, 2013

A Love Letter

Remember this horrible day?  When it all came crashing down?  It stayed there for a few days because I didn't have the heart to touch it.  Then it got rolled up and stuffed on a shelf until I had time.  Well, not that I had time, but my brain was fried from math and I couldn't concentrate on anything else.  So I worked on this.


It was a little crazy.  I had a picture of what half of it looked like, but I hadn't taken a picture of the whole thing (or at least I can't find it), the second half took a little longer because I had to read the code to put it together!  I'm not sure if I mentioned it, but this is a love letter.  Each fabric stands for a letter of the alphabet.  (When putting it together I found 2 missewn words.  I left the misspellings that were written in the letter, but I found 2 where I had replaced an 'n' with an 'm' and one where I forgot an 'e')


They were very much crumpled.  I had to iron them all.  I got lazy, however, and ironed straight on the table (with the batting in between).  DON'T DO IT! The steam got into the varnish and created white spots.  So I spent the last 30 minutes blow drying my coffee table.  (I should have continued reading the site that said it would probably clear up on its own in a few days).  The blow dryer worked pretty well.  I focused on one little area at a time and wiped it down to pick up some of the moisture.  


But I finished putting everything back in the right order.  And this time, I pinned them all on that batting  so until I figure out what to put as the spacing fabric (which I'm thinking a dark gray/chalkboard color) those pieces aren't going anywhere.   This word is my favorite.  It's rainbow, just because the code happened to make it that way.  Love it.  


Can't wait to go the fabric store and get some fabric to bring all this together.  Any other ideas on what to put in between the words? I love ideas!

See you soon!
(With a love letter sewn?)

Sunday, October 27, 2013

A little of my life-

So I feel quite special, I have reached 3000 views.  I know, some blogs get that many in one day, but I am so excited.  I write for fun, a little creative outlet and I love the idea that maybe I'm helping other people get their crafty on, or get into crafting.  I love anything creative.  I had a lovely girls weekend with my sister in laws and mother in law and it was so much fun, but it meant a lot of not sleeping and just a little crafting (and somehow no pictures of it).  So here's a little of my life...


A great ice cream place, $1 scoops.  I got 2 half scoops, because I wanted two different flavors.  Notice anything though?  That top "half", it's about 1/4 the size of the bottom "half".  I feel more than a little gypped.  It was only a dollar, though, so I sort of can't complain.


This is the squirrel that parked itself in the tree outside our house (I'm looking at it through my craft room window).  It stayed there for over an hour making noises I've never heard from a squirrel before.   Some normal squeaks, but then growls and yips.  It was staring down at the ground the whole time, seemingly very hostile, but there was nothing down there! It was a little frightening.  But it left eventually.


These next few are from a series of running/biking trails near us.  My husband took me there for a walk to see all the beautiful colors as the leaves change.


He told me it was better a few days before, but it was still beautiful.  I like the trail disappearing into the trees in the picture above.  


The colors were just amazing.  Purples and greens, reds, oranges, blues.  Loved it.  I love the trees going up the hill.  They look like fluffy pom poms.  I want to rub my face in them a little.


I told my husband that if we weren't already married he should have proposed to me on this trail. 
I also love that pop of lime green up in the left there.  Surprise! 


So that's a little of my life.  To be honest, the rest of my life looks a lot like this...


So sewing is slow.  But I got one more pinwheel quilted on my GillyWhig Quilt, 2 more small ones left and then the center.  Thanks for reading!  Now go on, get crafty!

See you soon!
(...with something crafty this week, I promise!!!!!)

Monday, October 14, 2013

I live!!! And I Quilt!!!


I know, you probably thought I died.  Looking at my arm, I think it's starting to die!  I match my pj's at least!  That's 2 days after a little blood draw.  Not donating, just some regular small vial of blood for testing.  I guess I'm just very delicate.

sad bruised arm

But really I'm just super excited!!!!!!  So I had a take home test due on Thursday and I spent practically the entire week working with complex numbers.  Whee!  This weekend, however, I finally did it.  I touched my sewing machine again (and not just to move it out of the way to do math).  I sewed on it.  Not just sewing either.  Quilting!  I am finally quilting my gillywhig quilt!   (Ever notice that quilt and guilt look very similar?  Do I feel guilty for quilting?  NO!)


wonky wiggly spirals
I've got 5 of the smaller pinwheels quilted.  I'm doing spirals starting at the center and moving out.  Normally you would think of doing this quilting pattern with a walking foot.  I don't have one, though, so I'm doing it with my darning foot.  And it is hysterical.  The purple one is my best so far and you can see it's still got fun wiggles and jumps.  It's also a little squarish because I am not marking it in any way.  I'm being free and loving it!

spiral quilting on pinwheel quilt

It's my first free-motion quilting and I'm letting myself be totally free about it.  I am still contemplating.  I wanted to do spirals after I saw this awesome quilt from Jacquie at Tallgrass Prairie Studio.  (Go see it, I love it!!!!)

I love where the spirals cross over each other in her quilting.  My problem is for mine to cross over, I'm off the edge of the quilt.  So I will quilt the rest, stopping at the edges, and then decide if I should quilt partial circles to get the cross overs or just do roundish triangles to fill in the blank sections.  Or just leave totally as is.  We shall see!  I'll show you when I've finished all the pinwheels to get your advice! I'm so excited!  Off to more sewing (because I have 2 days of no hw! YAY!)

See you soon...
(with a hopefully less bruised arm.  It just feels weird)

Tuesday, October 1, 2013

I'm Working it Out (aka I need your help!!!) GillyWhig Quilt

It's sewn and basted!


I'm so excited by it!


Don't worry, that long edge (the hypotenuse, you could say) is not supposed to be straight.  It's for the edge, which will be trimmed into a circle.


All my huge chunks sewn together.  I decided to go for the random color wheel.  I found that when I had it in a rainbow formation, the orange/red/yellow side was really heavy.  The huge orange sun-gig in the center probably doesn't help!  So I went more random and I think it's much more balanced now.


All sewn together.  Officially a flimsy!  Also definitely more of an octagon right now.  

So how do you get a circle?  Make your own compass out of string, a safety pin and a pen.  I tied a length of string onto the end of a safety pin and pinned it to the center of the quilt (on the wrong side).


I then measured out how long I could make radius of the circle and marked it on the string.  (As you can see, I had to shorten it a few times because I started on a longer side I guess.  I had given myself extra room, so it was ok.)


I proceeded to mark lines as I slowly moved the 'compass' around the quilt.  The hardest part was maintaining consistent pull on the string (since it was embroidery floss, it had some give to it and the fabric easily pulled up off the floor).


But I finally got all the way around and ended in just about the right spot.  Not too shabby, eh?


Then just cut on the dotted line!


And you get this beauty!  It looks so awesome as a circle!!! (Can you tell I'm a little excited by it!?)  It's not a perfect circle, I'm sure, but I didn't measure, so in my heart it's perfect.


I just finished basting it (though I have a small section on the back to smooth out.)  AAAAAHH! I don't have any pictures of the back!  Next time, I promise!


So now, the quilting question.  I was thinking of doing spirals coming from all the pinwheels and overlapping a little in the blue around the center gig.  Do I use one neutral thread color or do a thread to match each whirligig?  What do you think?  HELP!!  Does the decision making ever end??   (Though I do already have the binding bought, cut and pressed, so that is one done deal.)

See you soon!
(...with some great quilting ideas?)