Showing posts with label Tutorial. Show all posts

Friday, March 29, 2013

I made a Skirt! (and lost 4 teeth!)

So I got my wisdom teeth pulled on Monday.  It's sort of funny, I was most nervous about being knocked out for it and it turns out I got to stay awake!  I was a little sad that I couldn't see what was happening except for a little reflection in the dentist's goggles, but I got to see the teeth at the end.  So cool!
But anyways, since it's spring break I don't have any classes to take or lessons to teach and I'm not 100% back to my typical energetic, intellectual self.  So I'm crafting, and taking my time at it.

I got these pants at a clothing swap, I believe, and I'm not sure why I took them.  Not quite my style and I didn't think I'd wear them.  And over a year later, I've never worn them.  So the other day I was talking with a friend and she mentioned jean skirts.  Looking them up on Pinterest I can say there are a lot that I don't approve of.  I don't like the overlap crotch look.

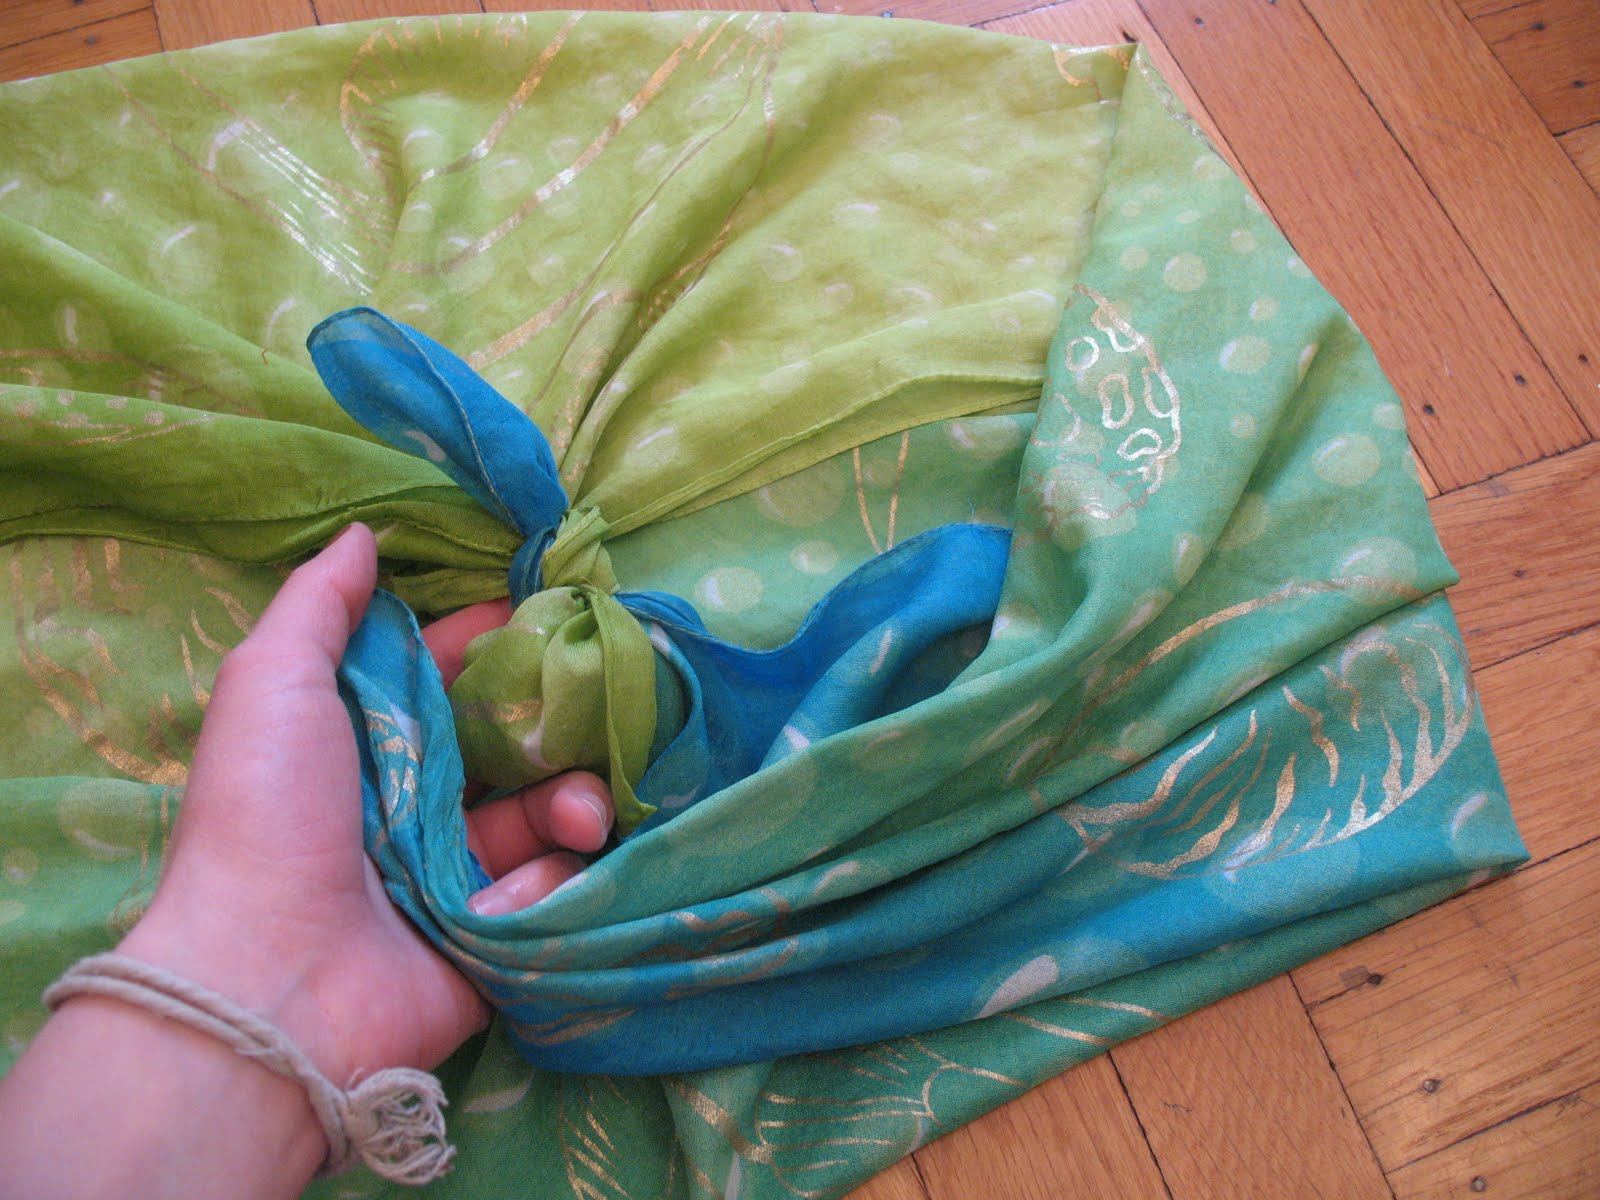
I had also just recently seen a post about a peekaboo pleat.  So I decided to use the pleat on the skirt.  I don't have the mental stamina to write a true tutorial, but I'll give a general idea.

I chopped the legs off and ironed out the cuff ( I got 9 more inches that were hidden away up there!)

I used one pant leg, ripped out the side seams and cut each half into 3rds, so I ended up with 6 pieces of denim.

I cut out 6 pieces of the purple fabric to sew in between, pleated the denim in about 1 1/4 inches on each side and sewed them all together.

I hemmed the skirt just by folding the bottom edge up twice and sewing at the top and bottom of the fold.

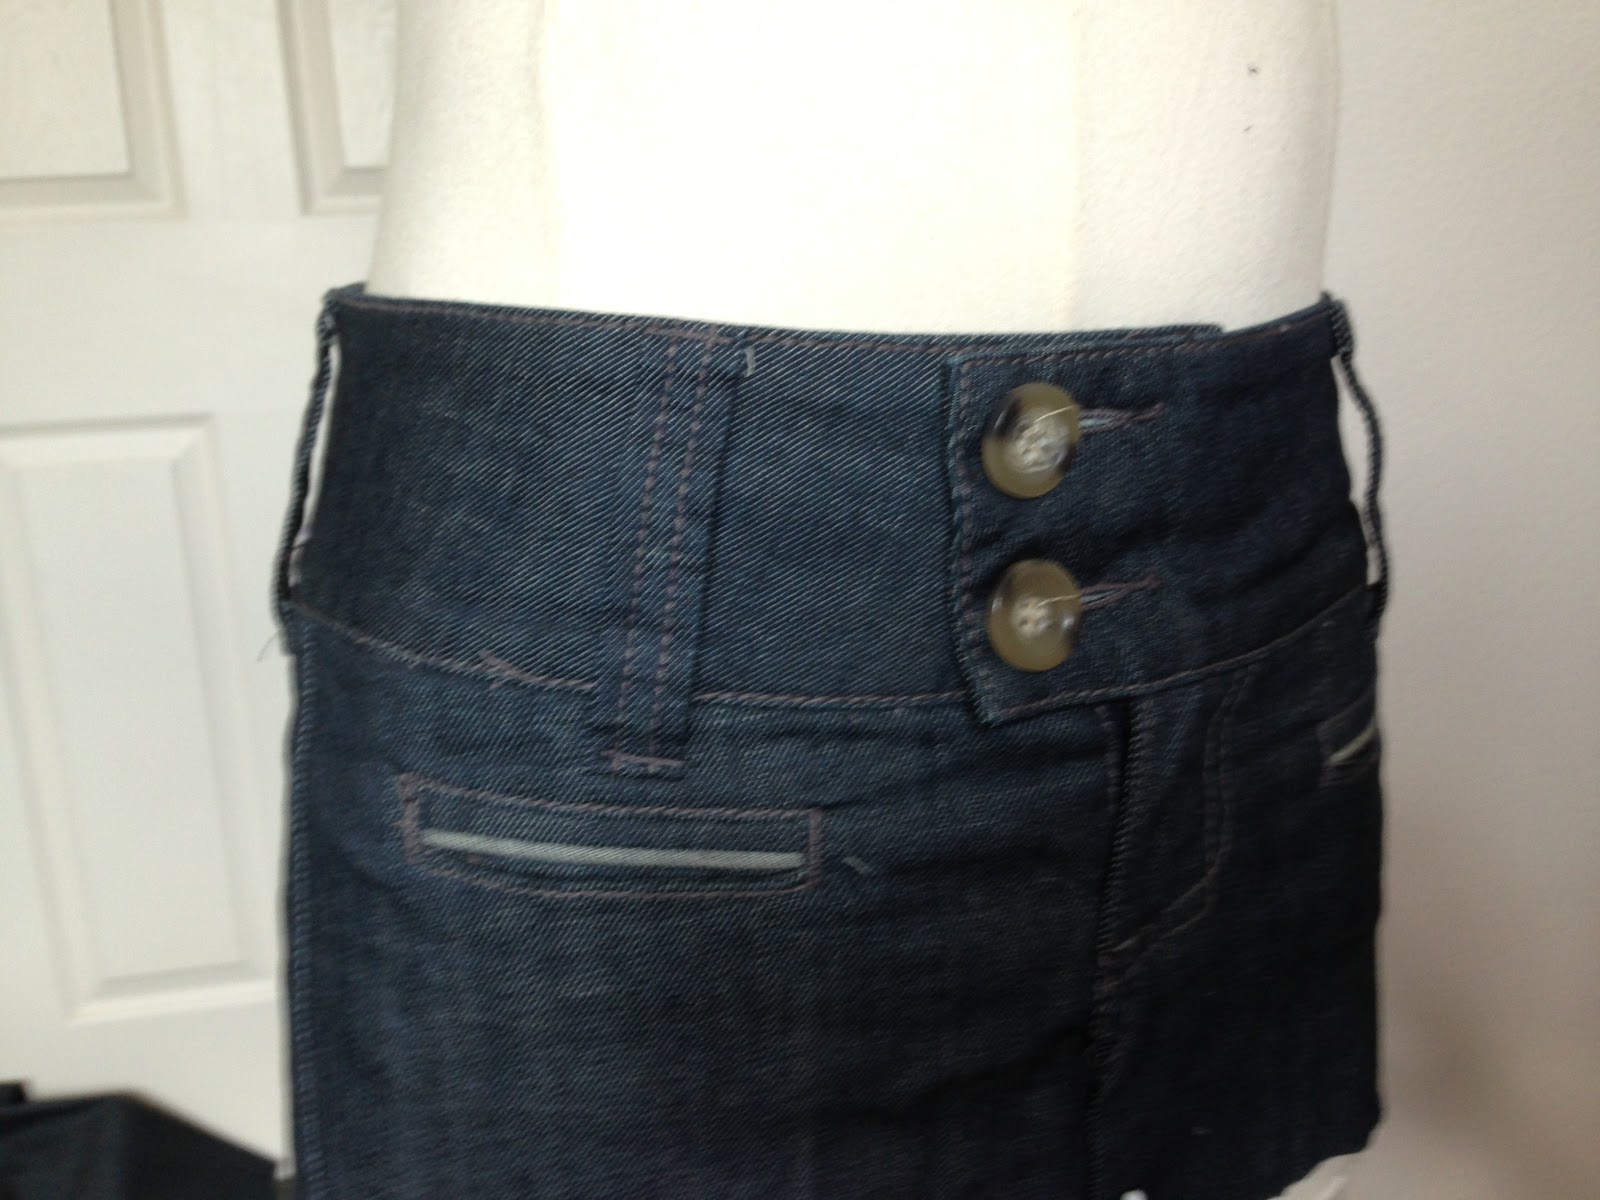
I also removed the giant belt loops since I knew I wouldn't wear it with a belt and they just seem weird and giant so I scrapped them.

I folded the bottom edge of the top of the jeans up and sewed the pleated section to it, (again sewing at the bottom and top of the fold) and tada!

Refashion, Jean, Denim, Skirt, Pants, Box Pleat, Peekaboo Pleat,

I realize the pictures make me seem like a little school girl with the high socks.  But I was wearing them under sweat pants (I'm resting, remember?)  

I also realized as I took the pictures that, as much as I love my craftsmanship on the skirt, it's not really my style.  So I took one thing I wasn't going to wear and made something else I'm not going to wear.  Soooo....
I'm probably going to sell it.  Once I take that big step and open my etsy shop, it'll be up for grabs!

See you soon!

Thursday, April 22, 2010

No-Sew Scarf Bag


No Sew bags are my favorite because they're usually really quick and easy and I get complimented on them more than any other bag. Sad, almost... This one is really amazing, though. Your materials include: a scarf. That's it. And two working hands; though all you need to do is tie knots, so you can probably even manage one-handed.


Start with a scarf, sarong, or any rectangular material. The thinner the better or the knots get too bulky. My scarf was about 56"x40" ish.


The next step is to fold the scarf in half like a hamburger, short ends together making it more like a square. I do wrong sides together so that the hem is on the inside of the sandwich. (If you have a thicker fabric, you can start off with a square piece and not fold it in half. Scarves tend to be thin and therefore need the doubling for durability)


Next, bring to opposite corners together...
...and tie them in a double knot. It's your choice how close to the corners to tie. I like a little bit of bunny ear flop.

Next, if the scarf is not perfectly square, find the shortest edge that leads to the right corner. In my case, this edge is coming from the lower half of my double knot.

Taking the right corner, wrap it around the lower half of the knot, over top first...

...then underneath so it comes up on the same side you started wrapping from.
Do the same for the left corner: find the shortest edge...

...wrap it over the top of the higher half of the knot...

...and pull it back under to the left of the knot.

Now the two corners are on the same sides they started on, but they're twisted around the double knot.
Tie the two ears corners together...
...into a double knot.
And there you have your final scarf bag. It's very simple and the best part is, you can undo it and use it as a scarf again. Once you get the hang of it you can do it in less than a minute.
If your scarf is still not close to square when you fold it, try putting the fold 1/3 of the way down instead of 1/2. That will be the bottom 'seam' of the bag.

If you put the excess fabric on the outside of the bag it hangs and, in this case, gives the bag a nice fringe along the bottom. You can also put the excess inside for a cleaner look.