Showing posts with label Quilting. Show all posts

Tuesday, October 1, 2013

I'm Working it Out (aka I need your help!!!) GillyWhig Quilt

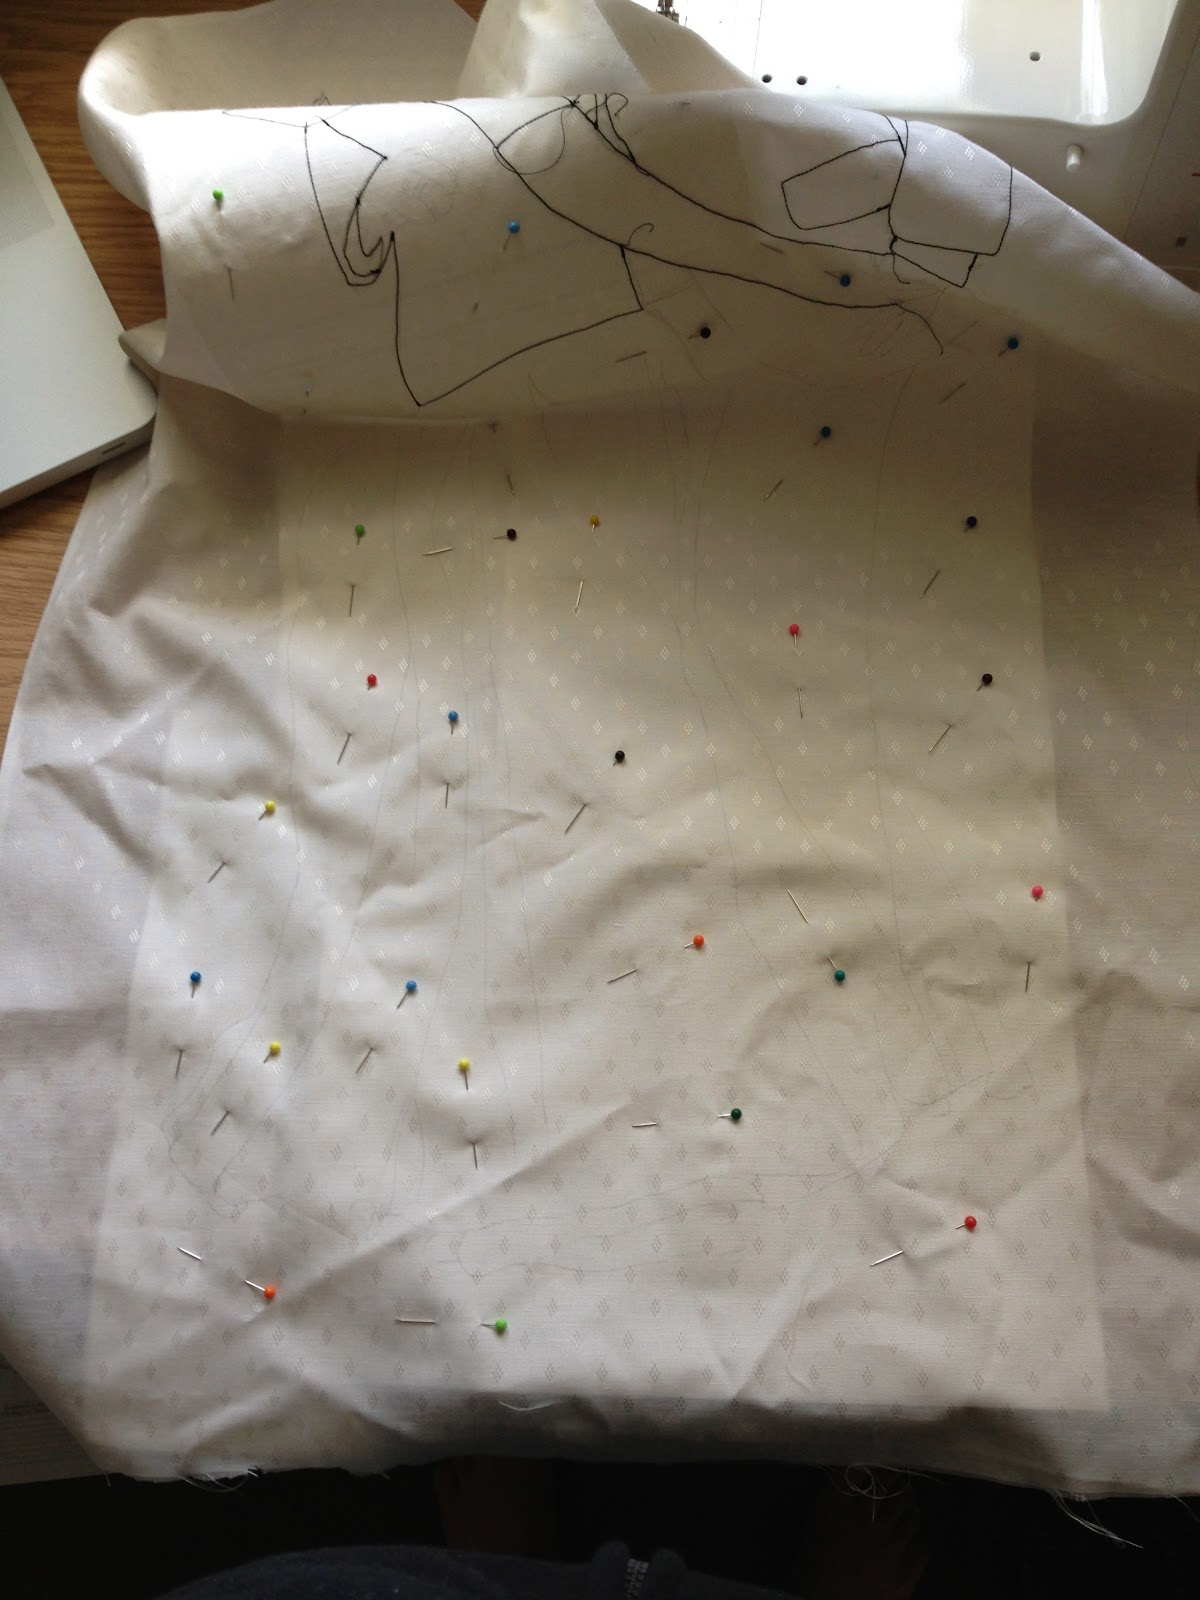
It's sewn and basted!


I'm so excited by it!


Don't worry, that long edge (the hypotenuse, you could say) is not supposed to be straight.  It's for the edge, which will be trimmed into a circle.


All my huge chunks sewn together.  I decided to go for the random color wheel.  I found that when I had it in a rainbow formation, the orange/red/yellow side was really heavy.  The huge orange sun-gig in the center probably doesn't help!  So I went more random and I think it's much more balanced now.


All sewn together.  Officially a flimsy!  Also definitely more of an octagon right now.  

So how do you get a circle?  Make your own compass out of string, a safety pin and a pen.  I tied a length of string onto the end of a safety pin and pinned it to the center of the quilt (on the wrong side).


I then measured out how long I could make radius of the circle and marked it on the string.  (As you can see, I had to shorten it a few times because I started on a longer side I guess.  I had given myself extra room, so it was ok.)


I proceeded to mark lines as I slowly moved the 'compass' around the quilt.  The hardest part was maintaining consistent pull on the string (since it was embroidery floss, it had some give to it and the fabric easily pulled up off the floor).


But I finally got all the way around and ended in just about the right spot.  Not too shabby, eh?


Then just cut on the dotted line!


And you get this beauty!  It looks so awesome as a circle!!! (Can you tell I'm a little excited by it!?)  It's not a perfect circle, I'm sure, but I didn't measure, so in my heart it's perfect.


I just finished basting it (though I have a small section on the back to smooth out.)  AAAAAHH! I don't have any pictures of the back!  Next time, I promise!


So now, the quilting question.  I was thinking of doing spirals coming from all the pinwheels and overlapping a little in the blue around the center gig.  Do I use one neutral thread color or do a thread to match each whirligig?  What do you think?  HELP!!  Does the decision making ever end??   (Though I do already have the binding bought, cut and pressed, so that is one done deal.)

See you soon!
(...with some great quilting ideas?)

Sunday, August 11, 2013

A Quilt for my Niece - Part 2!

And the quilting began!  Yes, indeed, I have a very small armed machine, and yes, indeed, the quilt is about 6 x 6 1/2 feet.  It was fun times for all.  Surprisingly it wasn't horrible, which I was sort of expecting.  It slid through the arm much easier than expected when I needed it to and I tried quilting in a way that didn't require an enormous amount of whole quilt turning.


I love the back.  I quilted around each diamond in the ditch, then made an X through each large diamond (again stitching in the ditch) that made up the star, effectively creating 4 diamonds inside the larger one...


...which looks like this on the back, which I love!!!


This is a larger picture of the back.  I didn't divide up the diamonds that go around the star, I liked leaving them emptier, bringing the focus on the center star.  (Sorry for inadequate pictures, I was in a poorly/not really lit at all apartment in Salt Lake.)  


This next one is to show you how amazingly my seams match up!  I was quite proud of myself.


I quilted nonagons in each corner triangle of the quilt.  (Yellow side is top, lilac side is the back).  I quilted both top and bottom in yellow, so it blended on the top and just peeked through on the back.  


I then quilted each yellow square around the star with things my niece is interested in.  The fabrics a bit wrinkled from being folded, but you can still see the quilting.
A microscope for her love of science...


The deathly hallows symbol from Harry Potter...


A piano keyboard for her love of music...


and a wolf, because they're awesome! (and she likes them)


I put stars in the other 4 squares.
2 Star of Davids...


And 2 five pointed stars...


I was so excited to be done with the quilt, when I found this...


Somehow the fabric got sliced through, all the way from front to back.  I don't know how, since I wasn't near this thing with a rotary cutter once I started sewing it together, yet that's what it looks like happened.  So I put my thinking cap on.


I hadn't made a label for the quilt, so I decided to use this as an opportunity.  I embroidered her initials on a scrap of matching yellow and stitched it on the front to patch the slice...


...and then embroidered my initials and the year on purple and stitched it on the back.


I think it was rather genius, and now there's a bit of a label on it.  So there's the quilt!  I'll try to get it outside and in natural light for a nice big picture before sending it off.  But in the meantime, check out our chicken pot pie we made today...


Yeah, it was a bit much.  We took off the top half of filling and saved it for another pie for another day.  Yay for more pie!

See you soon!
(with a sneak at a current project!?)

Friday, May 24, 2013

A Finished WiP!!!

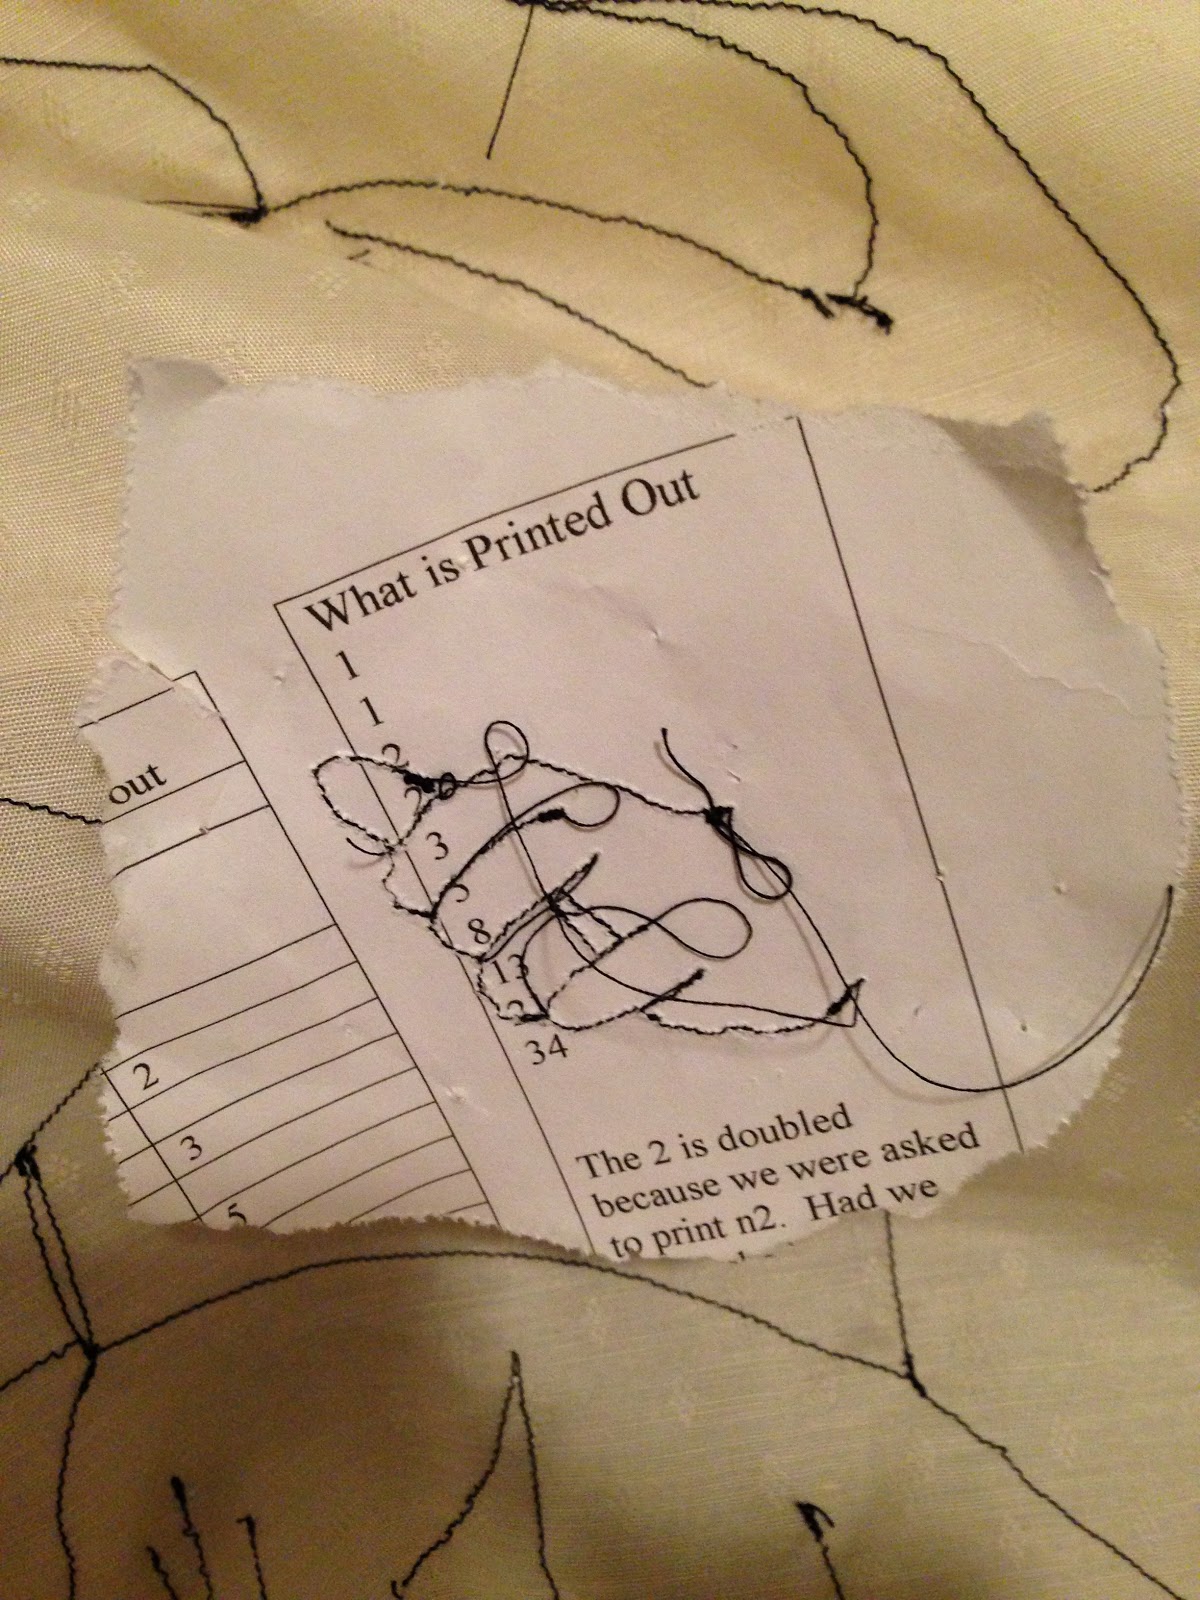
Thank you, Emily, (aka sister) for your awesome advice of how to sew this picture onto one layer of fabric!  I chose the option of placing regular printer paper behind the fabric and sewing through both layers.


Next time I'd use a slightly smaller stitch length to make ripping the paper out easier and create less pull on the stitches.  


I used my Computer Programming notes.  I didn't mind tearing those up.  Mostly because I didn't need them.  That class was so fun!


I did all the sewing on the machine with my regular, every day foot.  It was a lot of stopping and starting, lots of lifting and lowering the foot.


Once it was done I had to decide what to do with it!  I was planning on doing a border on it, but then realized it probably needed something to back it, since both the top and border fabrics were quite flimsy.  Since I am working on my first quilt that will have a binding on it, I decided I'd make this into a mini quilt and get a little practice in.


I had some leftover batting from my second quilt (a baby quilt for my niece) and it was the perfect width.  It was small enough to tape it to one cutting board, since my floors are mostly carpet.  I chose a musical fabric for the background because it was black and white, I had the perfect amount for the backing (though it's sideways to make it fit) and it was fitting for a dancing picture.


I layered my backing, batting and top and pinned.  I have a feeling my twin size quilt will take a little longer and a few more pins than this project!


I first sewed around the edge of the top.  There was a little bit of puckering.  Firstly, I don't have a walking foot, so the top dragged a bit.  Secondly, considering the first issue, I probably should have sewn the same direction down both sides.  Thirdly, I probably should have 'quilted' it first.  But I didn't, and I'm ok with it.  It's not quite as ripply in person as it looks on camera.


To quilt it, I just sewed with white thread all the way around the outline of the picture, usually about 1/8 inch away.  But down at the bottom by the skirt, I cut a few corners due to the difficulty of making small, tight corner changes with a regular foot.  


See, the puckering isn't quite as noticeable.  I love the orange border.  A little pop of color.  I also got the chance to practice my binding skills on a smaller project.  I need a little work on folding it over consistently, but that's why I practice!


I had a little scrap of musical fabric, just the perfect size to fit the 'quilt' except that it had to be placed sideways in order for it to cover.  But that's ok.  I thought music was appropriate and people won't be staring at the back when it's up against a wall, but I know it's there.  

See you later!
(with an older project?)