Friday, March 28, 2014

Scrap Buster #2 - Fabric Tray

As promised, this project was actually completed before the sweater/scrap fabric pillow case was done, but I felt the need to get that one posted considering I'm already working on the next clothing revamp project.


This project was super simple.  I wanted a place to contain our wallets and keys on our table, otherwise they ended up falling to the bottom of the bowl where we keep our gloves and odds and ends.  I also like the look of having a specific, contained place for things to go, instead of just being put straight on the table top.  I looked into quite a few different fabric buckets and bags, and loved a whole bunch, but for this project, I ended up going with noodlehead's fabric trays.  They looked like a quick sew, they used up a little batting (which I've got a bunch of odd, small shapes left over), and they make a tray, not a basket, meaning the sides aren't too high, but you're not sewing tiny pieces of fabric to make tiny sides.


I read how it was all put together and then made my own dimensions for my tray, since I didn't want lots of extra space for other things to crowd it up.  I decided to use a quilting cotton weight fabric for the inside and an upholstery weight fabric for the outside.  I don't own any fusible type anything and I didn't want it to be too flimsy on the bottom (though it's not something that's going to be carried anywhere, I just wanted it more sturdy because I did.  End.).


The upholstery fabric made it just stiff enough where it doesn't droop down sadly when picked up.  At one point I considered putting cardboard in it to make it stiff.  Then I decided it was way too much work and would require me to leave my craft room.  Bad idea.  I stayed put and sewed a tray!  I love it.  It's the perfect size and just keeps things looking nicer.


Now I have to figure out a way to organize the hats and scarves now that our coat rack is slightly broken and can't hold as much as it used to.  Any ideas?  Ones that involve sewing with fabric are highly encouraged!

See you soon!
(...with details on the next clothing revamp project!)


Saturday, March 22, 2014

Clothes Revamp No. 1 Complete!

I did it!  And don't worry, I finished it on March 3rd (just in time).  I have been having a hard time remembering to take a picture of it during sun light hours.  Our living room is so dark, you wouldn't be able to see it at night.  I can't see it and I'm looking at it right now (I think).

So I proudly present to you, my sweater-turned-pillow case Clothing Revamp!


I love this because it serves quite a few purposes.
1.  It motivates me to now recover the couches (since you can see our couches are basically the same color) which I've been wanting and planning to do for coming up on 2 years now.  (I'm terrified about it, that's why I haven't done it yet).  
2.  I finally get to enjoy the awesome fabric manipulation I did on the sweater, since I didn't wear the sweater before, and it was on the back so I didn't see it anyway!


3.  I ended up using some of the scrap fabric that I'm trying to sew my way through, so it also becomes project 1 of my Scrap Buster projects as well.  YAY for reaching 2 goals with one project!


I still did an envelope style pillow back (with a general idea of how to do it from Martha Stewart, though I had to alter it a little because I was using a different fabric for the front).  But I made my classic mistake and ended up with the bottom folding over the top - which may not necessarily be wrong, but I definitely prefer the other way around.  I just always get confused when I'm sewing it inside out.  One of these days I'll figure it out.  Otherwise, I'm quite happy with it!


The hardest part was cutting the green knit.  Since I had pulled it in so may directions and not equally on both sides or from top to bottom, it was hard to cut it in a square.  Or really, it was hard to cut it so that when it was sewn to the back it would stretch properly to become a square.  I think I did a pretty good job at it, though.  If my backing fabric had been a little stiffer it would have helped keep a squarer shape once it was on the form, but I prefer softer fabrics for pillows (so I can snuggle my face on them without being scratched), so I like it!


I have chosen my denim dress to be my next clothing project.  That post will be coming soon, at least the post saying what I'm thinking of doing with it!

Clothing Revamp #1, done!
Scrap Buster #1, done!

See you soon!
(...with Scrap Buster #2!  It's already done!)
 

Monday, February 24, 2014

I Don't Wear Sweaters - Clothes Revamp No. 1

So I picked the article of clothing I plan to reinvent for this month.  I actually had it in mind before I even published the last post so I'm giving it a starting day of February 1st, meaning I've got until March 3rd to do something with it.  Luckily, I had it in mind because I had a plan for it already.  So here's the piece - the Roots Sweater.  Yep, see, I have a tendency to reinvent something and then not really love the final result.  In this case, I loved what I did, but I haven't worn it twice that I can remember.  I don't like turtlenecks and I rarely wear sweaters.  I'm not sure why I did this in the first place.  So.  Revamp Attempt #2!  And I'm not making it wearable.  It's going to turn into a pillow cover.  I plan to add a few more roots and extend them out to the edge of the pillow.  But then a simple (fingers crossed) cut and sew with probably an envelope backing because it requires no extra hardware and is easy! I've already pinned the new roots, so it's hand stitching time!  This is when I wish I lived in the city again.  Nothing like 45 minute train rides to give you some good forced hand craft time.


Anyways, I got off topic (and I wrote the previous paragraph last week).  I have finished sewing the extended roots and they look awesome.  I have to now figure out exactly how to do the envelope style cover.  I don't have a lot of extra fabric for the back since the bottom 6 inches of the sweater body is a knit rib, but I think I've figured out a way to actually use the ribbing to give me enough fabric to do the envelope binding, because that really is my favorite way (can it be a favorite if it's the only way you've ever done it?).  Either way, I have about a week left to finish it, though it'll only take me an hour or two from this point, so it's all dependent on when I get to it!  So excited for a crafty finish!


See you soon...
(with a new pillow cover and pictures!)

Monday, February 3, 2014

Goals and Motivation

I love crafting.  I also love how I go through phases in my life where different things become more intriguing and compelling for me.  I got a little burned out on crafting over the holidays.  I made 2 aprons for my husband's brother and his wife and then I made a 2 sided appliqued fleece blanket for my brother.  They both turned into last minute works, delaying our departure to my husband's parent's house to finish the aprons, and cutting off the extra fabric for my brother's blanket in the car to the airport.  So I came home to a messy, disorganized craft room.

Needless to say, I haven't really entered back in except while looking for index cards (which I couldn't find).  So I've decided to make organizing and cleaning up (and out) the room my new crafty priority.  One thing I have is 2 giant boxes full of random fabric (from quilting cotton to corduroy to lining material to who knows what this is for).  Another thing I have is a pile of clothes that I either almost love or have bizarre, unreasonable attachment to and can't get rid of, but I haven't bothered to do anything with them yet.  I have been following Amanda Jean on Crazy Mom Quilts and she has this goal of making 101 projects purely from scraps to help control her quilting fabric.  So I was thinking I could do the same sort of thing.  

I plan on:
  1st, picking an article of clothing that I either need to alter or rework and give myself 30 days to do something with it.  If the 30 days goes by and nothing happens with it, it's being donated.
  Once that first one is done, I pick the next article of clothing that day and have 30 days to work with that.  So worst case - I end up giving away 12 articles of clothing by the end of the year (meaning this may take a few years to get through all of them), or best case - I'll have 12+ new items in my wardrobe by the end of the year.  And some I may refashion and realize I don't like the new one any more than the old so off it'll go.  

  2nd, picking a number (101 seams...ha totally unintentional pun!...seems a little high, but maybe it's good to aim high.  Go for Gold!) of projects that I'd like to complete that use up my 2 boxes of random fabrics.  While doing that, I'll go through and decide if some fabrics just aren't worth saving (or should be used as filler or batting for another project).  The idea is to hold off on the next quilt until I get rid of a bunch of this other fabric.  So I'm going bold, but not too bold.  57.  I plan on doing 57 projects with the box fabric before I can look to do another quilt.  

I like this kind of pressure.  Not overwhelming, but for the box fabric, it'll be great motivation to be creative and think of what I need in life and how I can make it out of fabric!  It'll be like my 31 projects in 31 days that I used to do (hey, it's February! I totally missed it this year!  Awkward embarrassment) except that this time they have to all contain fabric.  But that's cool, most of my other one's did anyway.  

Already I've got my mind thinking hard.  Like, if I plan on organizing my craft room, I'm going to need some nice containers for things and I really have loved all those fabric boxes/baskets that I've been seeing and I've got some heavy weight material that would stand the test of time.  

Do you have ideas for me?  I've got a lot of projects to do and any piece of inspiration is helpful!  I'll post them as I do them and I'll show my clothing article that I plan to redo as well, and show the finished product if I end up refashioning it!  So excited for progress.  And cleanliness.  And orderliness.  I like those things.  

See you soon...
(with projects!)

Tuesday, November 26, 2013

A Finished Picnic/Whirlygig Quilt!

It's done!!  The Whirlygig Quilt is done! (Except for a quick wash and dry.  That part's easy.)


I decided to keep going with the circular theme and do spirals starting at the center of each pinwheel.


I then filled in between the spirals, copying the curves and getting smaller until the space was filled.


At the edge I also mimicked the spiral to fill in the space, so it looks like little curved pyramids.


The giant center pinwheel.  It was a little tricky quilting this one, at one point I had about 3/4 of the quilt in the throat of my machine. (And I have a Bernina 1008 - not a big throat!)


The pinwheels:
Pink - I love these fabrics.  The watermelon seeds and the pink hexagons! 


Supposed to be yellow - didn't find any bright yellows I liked at the store (the binding was bought later) .  Love the darker pattern, though, circles that make diamonds.


Purple - Love the contrast with the hard lines of the darker purple and the organic lines/seeds of the lighter.


Orange - Again, very geometric lighter and more organic dark pattern


Green - love the light, the random almost scribbled cross hatch.


Red - probably my favorite fabric is the light red.  I don't know why, but red is the hardest color to shop for.  It took forever to find ones that I felt were really red (and not maroon or what not) and not just polka dot or gingham.  Why is it so hard?


But look how pretty the flowers are! I know it's mostly white.  But it's my favorite. 


Blue - The darker pattern was probably a little too large for this, but it was the best color, so it worked out just fine!


This was supposed to be a slightly greener yellow - I love the lighter pattern.


Sneak peak at the back!


TA DAH! This pattern was so cool to me, and I didn't have a lot of green on the front and it's meant to be a picnic quilt, so it's good to be green - grass stains will be slightly less noticeable!  I just think the pattern's so cool.  From far away it looks more like flowers...


But closer in it looks more like interconnected rings.  So fun!  And yes, I took a picture of where my quilting was poorly done, because I'm ok with it!  It's the trouble with doing spirals.  This is where the two spirals met and so the fabric was being pulled in opposite directions.  Live and learn!


The spiral from the back.  I just used white quilting thread on the back. 


And then it was bound - I used the same fabric as the dark orange in the giant center pin, except I did it in bright yellow.  I thought in the sea of blue the quilt needed a hard, wide binding.  It's a double folded binding that I cut at 4", so the finished width is just a little under one inch.  And it's cut on the bias as well, so it could go around the curve.


I machine stitched the binding onto the front with the lovely walking foot my husband got me for my birthday.  And then my brain exploded and I decided I wanted to hand stitch the binding on the back.  It went quicker than I thought.  A few hours on Saturday afternoon/Sunday morning while my husband was out of town.  Not bad for approximately 18 feet of bias binding. 


This is also a gift, so the H is us, the B is the recipients, because we like them a lot!


I just love the circles/flowers!  And I love that I'm done!  I hope you love this quilt.  I do.


See you soon!
(...with another quilt project?)

Saturday, November 23, 2013

I've opened an Etsy Shop! Finally!

I'm pretty sure it was months ago that I said I was planning on opening a shop on Etsy.  Well, I finally did it.  Better late than never, yeah?  I'm so excited about it.  It's been open for all of 10 minutes and I'm stoked.  Go check it out!  Here are some glimpses of what I've listed so far.  I feel a little odd trying to advertise myself.  It's not really my style.  But having a shop doesn't do much if no one knows about it! Christmas is coming up and I think what I create would make great gifts.  So sneak a peak.


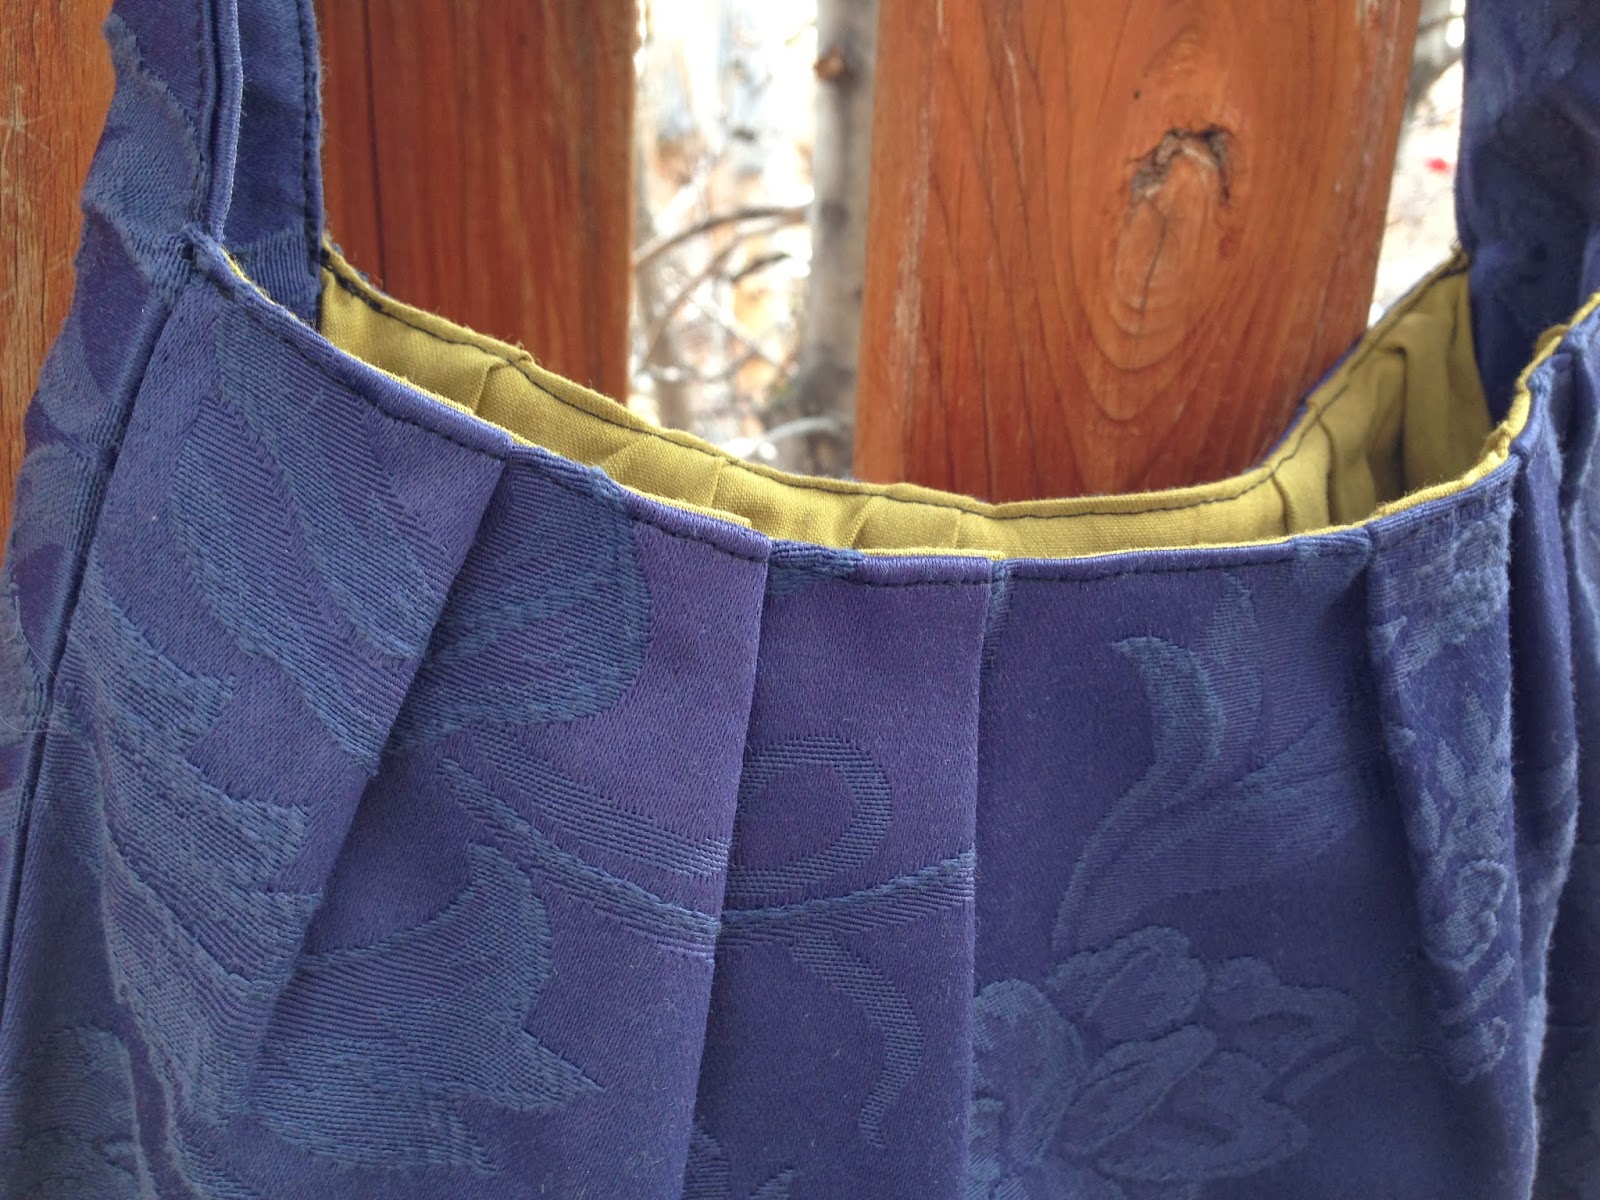
I've got clutches/cosmetic bags and some reversible pleated shoulder bags.  Love them all!


See you soon!
(...with a few finished projects!)

Friday, November 15, 2013

A Love Letter

Remember this horrible day?  When it all came crashing down?  It stayed there for a few days because I didn't have the heart to touch it.  Then it got rolled up and stuffed on a shelf until I had time.  Well, not that I had time, but my brain was fried from math and I couldn't concentrate on anything else.  So I worked on this.


It was a little crazy.  I had a picture of what half of it looked like, but I hadn't taken a picture of the whole thing (or at least I can't find it), the second half took a little longer because I had to read the code to put it together!  I'm not sure if I mentioned it, but this is a love letter.  Each fabric stands for a letter of the alphabet.  (When putting it together I found 2 missewn words.  I left the misspellings that were written in the letter, but I found 2 where I had replaced an 'n' with an 'm' and one where I forgot an 'e')


They were very much crumpled.  I had to iron them all.  I got lazy, however, and ironed straight on the table (with the batting in between).  DON'T DO IT! The steam got into the varnish and created white spots.  So I spent the last 30 minutes blow drying my coffee table.  (I should have continued reading the site that said it would probably clear up on its own in a few days).  The blow dryer worked pretty well.  I focused on one little area at a time and wiped it down to pick up some of the moisture.  


But I finished putting everything back in the right order.  And this time, I pinned them all on that batting  so until I figure out what to put as the spacing fabric (which I'm thinking a dark gray/chalkboard color) those pieces aren't going anywhere.   This word is my favorite.  It's rainbow, just because the code happened to make it that way.  Love it.  


Can't wait to go the fabric store and get some fabric to bring all this together.  Any other ideas on what to put in between the words? I love ideas!

See you soon!
(With a love letter sewn?)